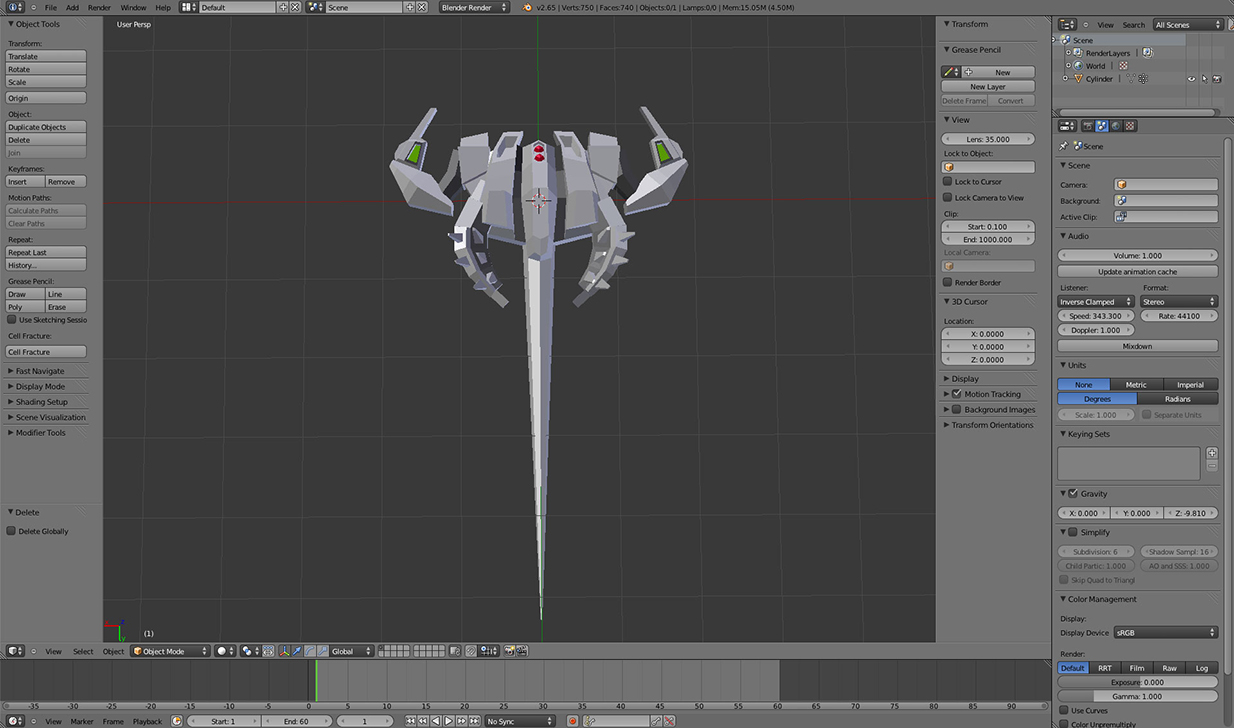
Curve driving bonechain Blender
Curve with wave modifier driving bones.
In this tutorial I use an easy way to
create a tentacle wave like motion.
Instead using keyframe animation I
decide to use a wave deformer to animate the curve and then
this curve to drive the bone chain.Then
I bake the animation and in the end I copy the first frame to the
last frame just to create a loop to use
it in Unity or other game engine.
So here's the steps:
Add
an Armature/single bone and place it to match the model, then
subdivide it as many times you want.
Then
add a Bezier curve : Shift+A /Curve/ Bezier and place it to bone
chain.
You
can do it easily by selecting the last bone in Edit Mode, Shift+S /
Cursor to selected
and
then select in Edit Mode again the Curve point of he Bezier Curve and
Shift+S Selection to Cursor.Then select the Curve point with Handles
and scale it to Y axes, S+Yand hit 0 to scale.
Do
the same for the Tip of the Curve also and the subdive the Curve in
Edit Mode:
Select
all Curve points hit W select Subdivide.I recommend to subdivide it 2
or 3 times to have some points to have nice deformations.
Now
select the Curve, go to modifiers tab and add a wave modifier.
Change
Position from 0 to 1.
Rotate
90 degrees if you need the curve in Y axes.
Ok
now with Curve selected go to texture tab and create a new Blend
texture.
Check
Ramp, select black color and change the Alpha value from 0 to 1.
Go
to Modifiers tab again and in texture parameters choose that blend
texture.
Depending
the result you want, you can adjust the other parameters also, like
speed or narrowness.Also you can go to texture and adjust the ramp
colors to create the motion
you
want for your Curve.
In
black there is no motion at all, where is white is full motion.
So
black color should make bone chain base to not moving at all.
Now
to in order to make the Curve to drive the bone chain, select the last bone and in properties go to
BoneConstaints tab and add a SplineIK constraint.
In Spline IK properties select the
BezierCurve as target and in Chain Lenght increase the number to
match bones number from the bonechain. In this example we have 8 bones so increase the chain Lenth fitting to 8.
Now to in
order to make the Curve to drive the bone chain go to Modifiers tab
and select
this little
icon as shown in image below.
Playback the
animation and now you can see the bone chain having a wave motion.
To finish the
set up select in Edit mode the base of the base bone and hit E to
extrude a new bone that will influence the body of the model.
Then select
the Mesh and then the Armature and Ctrl+P and select With automatic
weights.
Paint weight
paints if you need and then Select armature in pose mode (all bones)
, space/select bake actions
Check “
Clear Constraints ” and Done.
The last step
is to create the loop of the animation.
So in Dope
Sheet Select the first keys and dublicate them to the last frame you
want.
You have to
scrub in timeline to find the right last frame to be match as
possible the first frame.
For example
in my case frame number 25 is like number 1, so I dublicate Frame 1
and translate the keys to Frame number 25 to have an animation loop.
Now you can
export the model with the baked animation as .fbx to use it in Unity
or other game engines.
Before you do
that select the mesh and Ctrl+A and select Apply Scale.
In some cases
when you apply scale I have notice that normals changed in some
faces, so in Edit mode select all faces and hot Ctrl+N to recalculate
normals.
Now you are
ready to export the model with the animation.


This tutorial doesn't work, there is no mention on how to connect the curve to the bone chain.
ReplyDeleteThat little icon you talk about doesn't affect the bone chain at all.
You must have missed a step when you parent or setup a constraint to the bone chain some how.
You are right, I missed the step that you create a SplineIK constrain in bonechain.
ReplyDeleteReally sorry about that, I will update this thread soon but for now do this:
1. Create the bone chain
2. Add the Bezier Curve
3. Select the last bone and create a Spline IK constraint.
4.Add a Wave modifier.
5.In Spline IK properties select the BezierCurve as target and in Chain Lenght increase the number to match bones number from the bonechain.
Finally select BezierCurve and in wave modifier properties select the little icon on top right.
Ok I updated the tutorial, now it will work as expected.
ReplyDeleteThank you and sorry again.
Thanks so much got it working now. :D :D :D
ReplyDelete